Adventures in Telescopic Photography
A while ago I lucked into some telescopes that were being discarded as trash – the weren’t being kept up, and the owner had moved on to what he termed “professional grade” equipment. His trash was something hopelessly beyond my budget to pick up as a first order product, so I was more than happy to piece them back together, clean them up, and generally invest some sweat equity bringing them back on line.
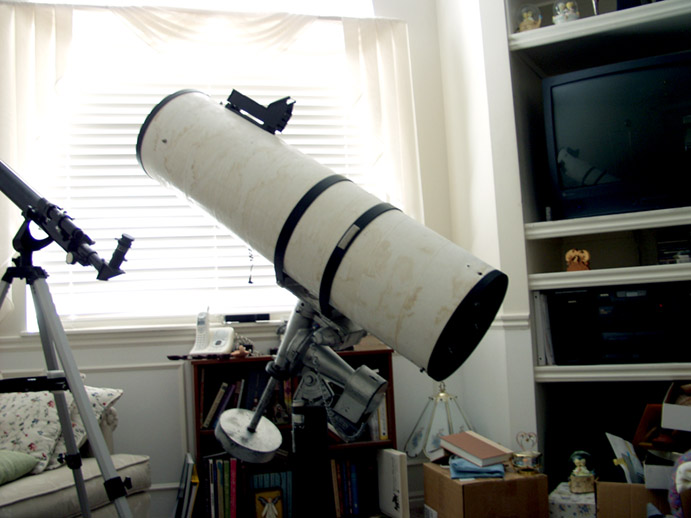
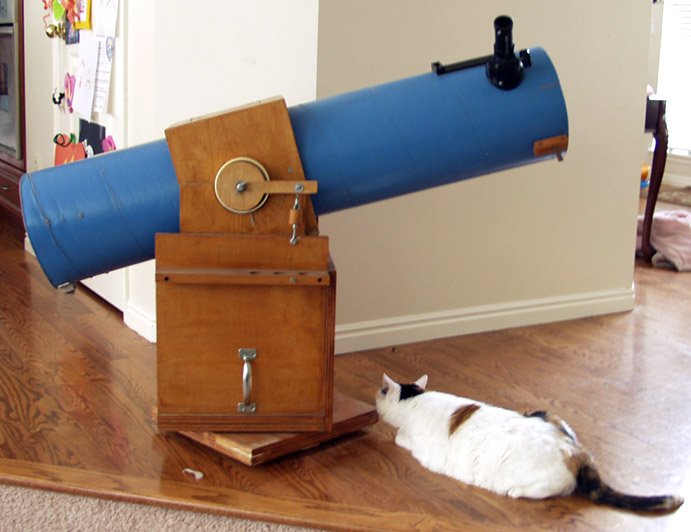
The result? Moby Dick & Ol’ Blue, pictured here (please forgive the mess, lots of the home organization is in remodeling flux):
Cat included for size reference (she was a good sport about it too, especially considering I had to wake her from a nap; please note that she is a large cat, too).
The barrel on Ol’ Blue is 48″ end to end, housing an 8″ diameter primary mirror. Moby Dick is a hair shorter at 44.5″ in length, with a 10″ primary mirror, but on account of its equatorial mount with counterweight is WAY heavier and thus harder to cart about for simple experimentation.
They did take some work to get functional again, and there were no objective lenses (eyepieces) with them, so I’ve borrowed some Plössl type lenses (25mm & 10mm) from a friend to practice with and give me a good baseline for shopping around. All told it’s been a good experience, I’ve learned a ton about Newtonian telescopes, and have thoroughly enjoyed the views they afford.
Enough so that I want to share those views. My eventual goal is to get a good camera mounting kit for Rachelle’s EOS 5D Mark II, and haul Moby Dick out to the west dessert to do some awesome astrophotography. Before making that kind of investment (especially regarding time) I figure I should practice a little bit and get used to the variables involved. This morning marks my first attempts, which I will generously label “encouraging.”
My setup was about as handicapped as it could possibly be. It was a cool gray (rather than sunny) morning, and my home and yard are poorly situated to see anything at a distance – and I felt like staying indoors, which compounded things by constraining what I could shoot even further: would need to be a distant object through windows that have not been maintained on a particular cleaning schedule. In order to get the telescope positioned correctly to see some mountains (and be pointed far enough away from the sun so as not to risk damage to self or equipment if it happened to come from behind its clouds) I had to mount it on a stool, and then put the camera on its tripod on top of a card table to position it for my first attempts at afocal telescopic photography.
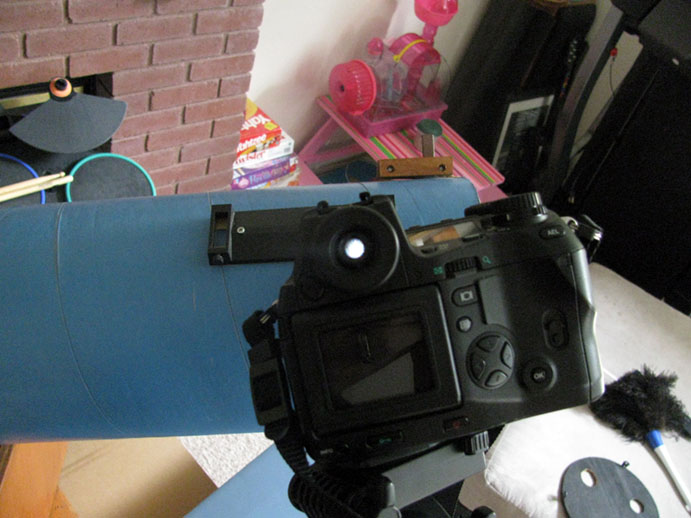
The full rig is not shown here, since I couldn’t manage that from any angle that wouldn’t have a cluttered background, or otherwise disclose an embarrassing amount of the aforementioned remodeling driven organizational flux (e.g., a messy house).
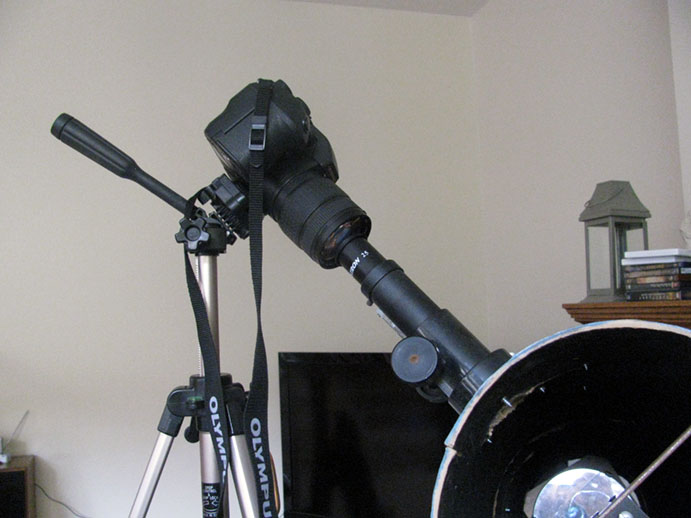
To recap, the telescope is sitting on a piece of scrap bead-board to level out its load on the 4 legged stool which is sitting on carpet in a residential house on an intermediate floor (e.g., as vibration prone as is possible without actually strapping a vibrating apparatus to it), matched by the 5mp Olympus E-20N on a light-weight aluminum tripod on a folding card table on the same floor (oh, and since they’re on different surfaces they’re free to jostle out of phase with one another).
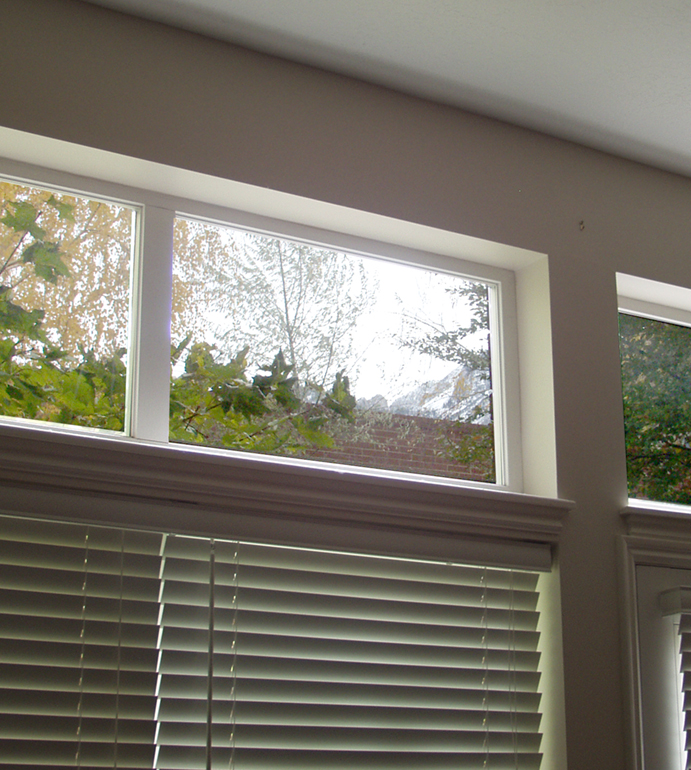
And they’re shooting through this window:
The target being those mountains in the lower right corner – so I’m compounding the problem by shooting through glass at an angle (naturally refractive) which is not especially pristine, and I’m doing it more or less parallel through the atmosphere to maximize the amount of thermal interference. Oh, and I’m shooting through foliage as well, so I’ve got that going for me too.
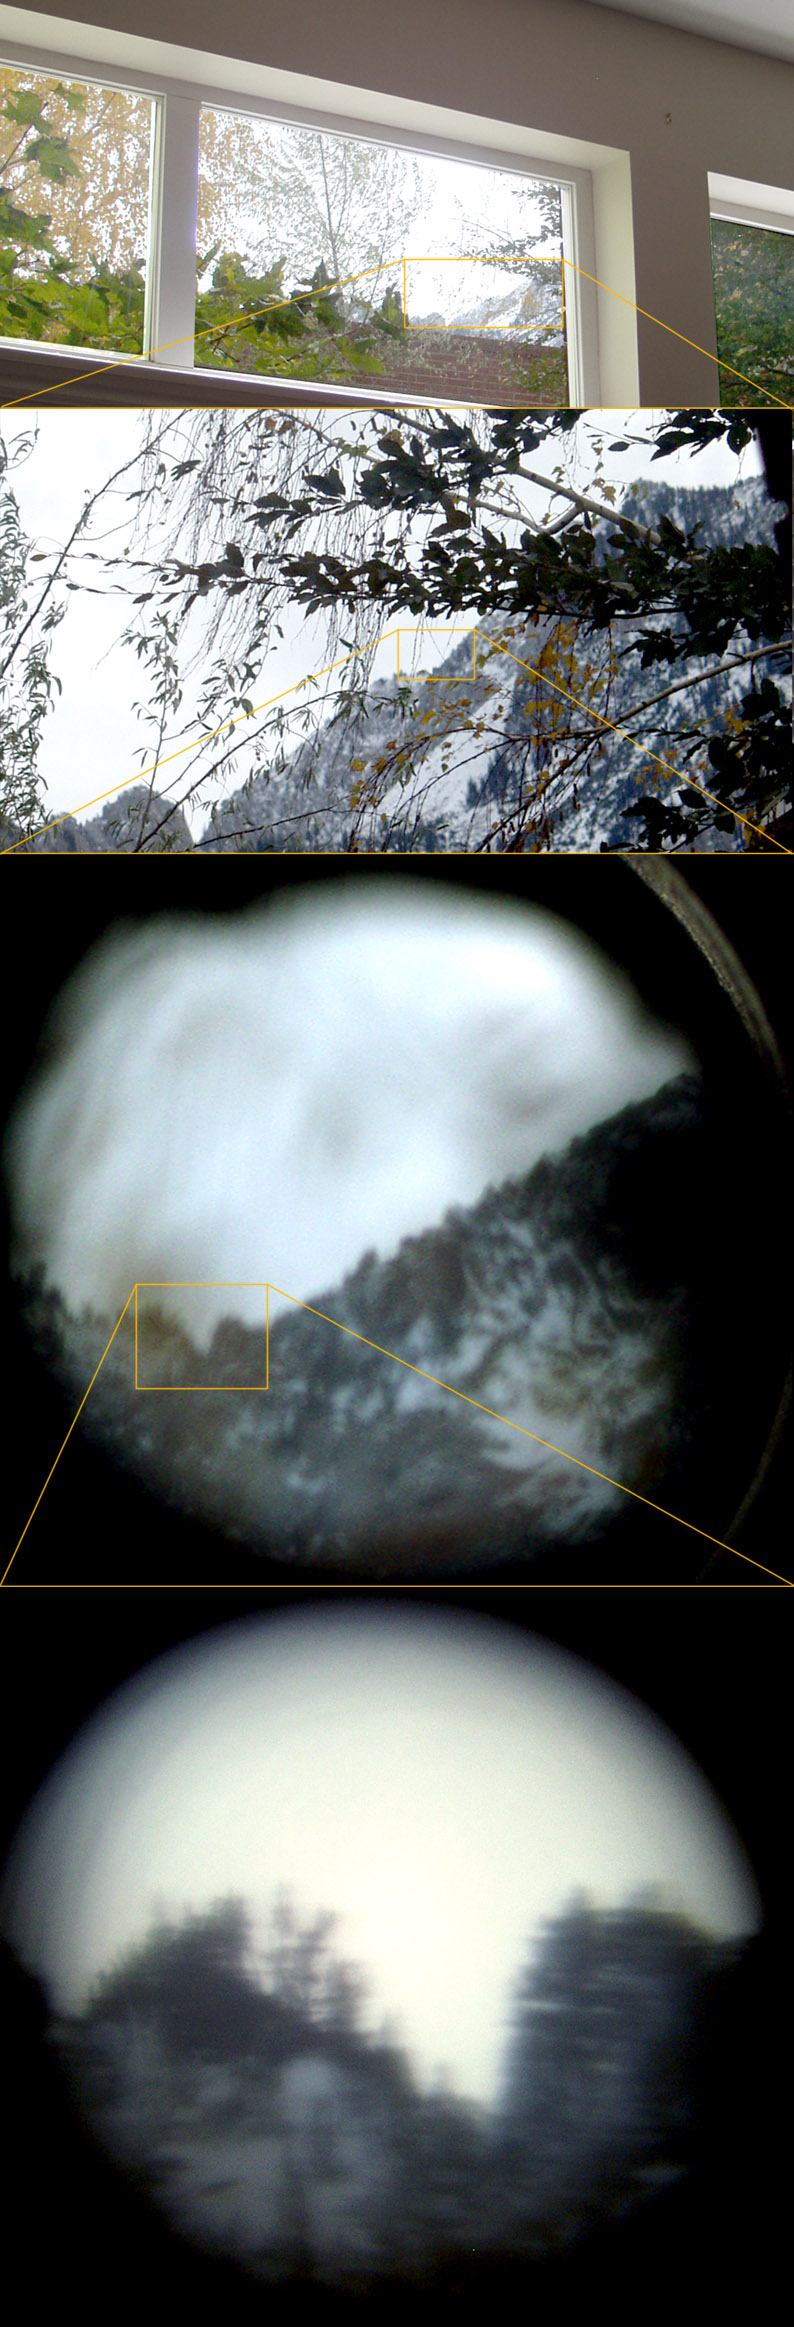
My first shots were through the 25mm objective, which came out better than I anticipated – but always a little bit fuzzy due to All of the Above and the total resolving power of the glass. Nothing through the 10mm objective turned out, which isn’t especially surprising. The following series is a little out of order chronologically, to better show progressive zoom. They are:
- This Window from the Olympus E-20N sitting just above Ol’ Blue (so same angle, but slightly offset) zoomed all the way out (35mm equivalent)
- The Olympus in the same position as no. 1 zoomed all the way in (140mm equivalent)
- Olympus shooting through Ol’ Blue with no objective lens mounted (camera on tripod about 16″ away from the focusing mount) – out of focus foliage is visible obscuring part of the image.
- Olympus through Ol’ Blue with 25mm objective lens (close enough that if they were anthropomorphized one could say they were totally making out)
The field of view of each successive frame is highlighted the the image preceding it in order to give a frame of reference. I should also say that you can click any of these images in order to bring up higher resolution version (modestly higher – definitely not full size).
The most impressive part about this for me was the sheer quantity of light I had to work with. Any time you magnify an image optically you are in essence dividing the amount of light in order to isolate your area of interest. Here that magnification started with collecting an increased amount of light via the primary mirror and concentrating it to a smaller point so there’s simply more light to go around. The result? 1/100 shutter at f2.4 on ISO 80. Not 800 – eighty. Putting the EOS 5D Mark II in front of this thing with it’s gorgeous low-noise performance at high ISO values (especially on Moby Dick, with 25% more light than Ol’ Blue and a considerably higher quality primary mirror) and full frame sensor will mean some truly awesome possibilities. No surprise that the 5D MII is becoming a fast favorite among astrophotography enthusiasts.
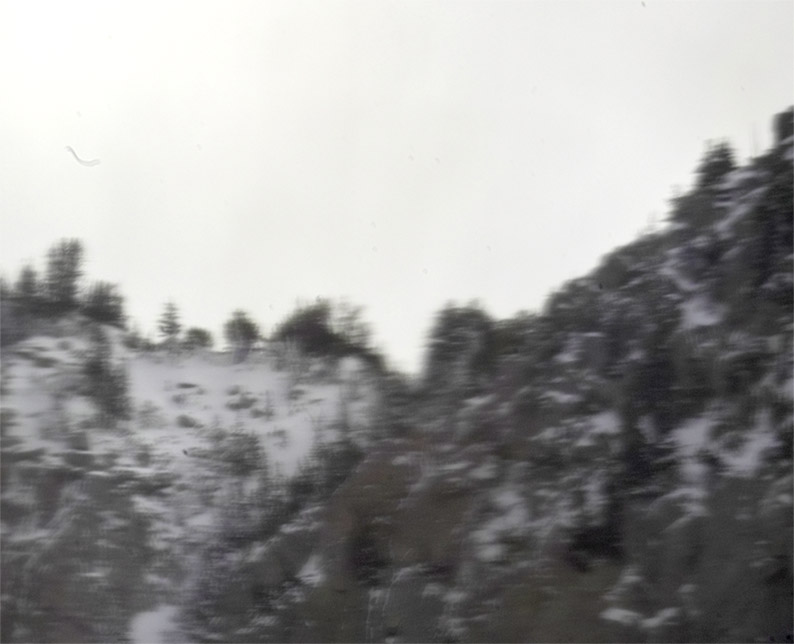
I wanted to give focal telephotography a shot while I was at it too – removing not only the objective lens as was the case with picture no. 3 in the series above, but also the camera’s lens. The Olympus can’t handle that – its zoom lens is permanently affixed (in modern parlance it would be considered a “prosumer ZLR” rather than an SLR, even though the internal mechanisms are the same, simply because the body & lens are not interchangeable – but hey, in 2001 it was a top-of-the-line contender). I used Rachelle’s pre-5D cast-off, her Sigma SD10, took all lenses out of the picture (lol), and tried my hand at some freelensing (since there’s no good way to mount the camera to the telescope body without an adapter).
These results were also encouraging, even if they are a little tilt-shifty. It’s actually really hard, even with the tripod, to get all the elements of the focal plane to agree with one another. the maximum magnification is also fixed by the convergence of the primary mirror, so there’s no “zooming in” with this kind of setup – just a choice of which element in the path becomes the subject, and which are blurred out of existence. I’m totally willing to concede here that the quality of this shot is poor, needs help on several fronts, but given the combination of handicapped setup and first-timer status is actually pretty impressive (I’m proud of it, at least):
The image is presented here essentially as shot – minor contrast enhancement, but I haven’t even airbrushed out the dust and debris on the camera’s glass (which I really should get around to cleaning). Looking at the more full-size version you can see that it’s more of a “soft focus” than an all-out blur, and is almost certainly the product of the angle of the camera in relationship to the mirror and the interfering intermediate window rather than atmosphere or vibration, since the exposure was only 1/200 (ISO 200 too – nice complement). This is also slightly cropped, since I had to rotate the image in order to compensate for the camera’s alignment (and I’m not a good enough photographer generally to notice those kinds of things through the eyepiece, or I would have done it then instead). In order to get the camera into the right focal plane I had to remove Ol’ Blue’s objective lens mount entirely – completely unscrewed it from the tube and set it aside so I could get that last 1/2″ closer.
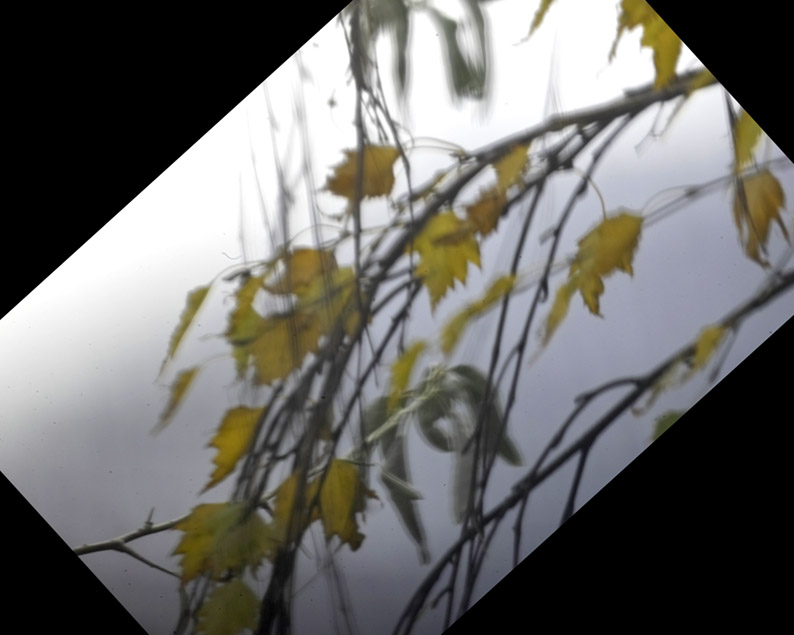
I rotated the next one as well, but didn’t bother to crop to a full frame presentation because I needed some of the information that would cut out. You can see behind the foliage the dark outline of the mountain in the background – the only difference in these 2 picture setups is about 5″ of movement from the camera, into the different focal plane. If you look closely in picture nos. 1 & 2 in the composite series you can also pick out this branch in front of the mountain (at a slightly different offset, since 1 & 2 weren’t taken above rather than through Ol’ Blue) – so still an impressive effective magnification (and ability to diffuse foreground or background objects selectively).
Freelensing is Really Hard. Apparently I managed to get only the twig in the lower-left into the actual focal plane, which is impressively shallow – and difficult to work with, given that 5″ of camera movement equates to about 2 miles of subjective distance.
The experience has been rewarding enough that I’ll be pushing on and learning more about how to actually really do it, and not just fiddle around with fancy toys. As much fun as it is though, none of these shots are actually on par with what you can see through the telescope with the naked eye – it’s just so much prettier than any of these can come close to showing.
