Salvaging a Cheap Cello
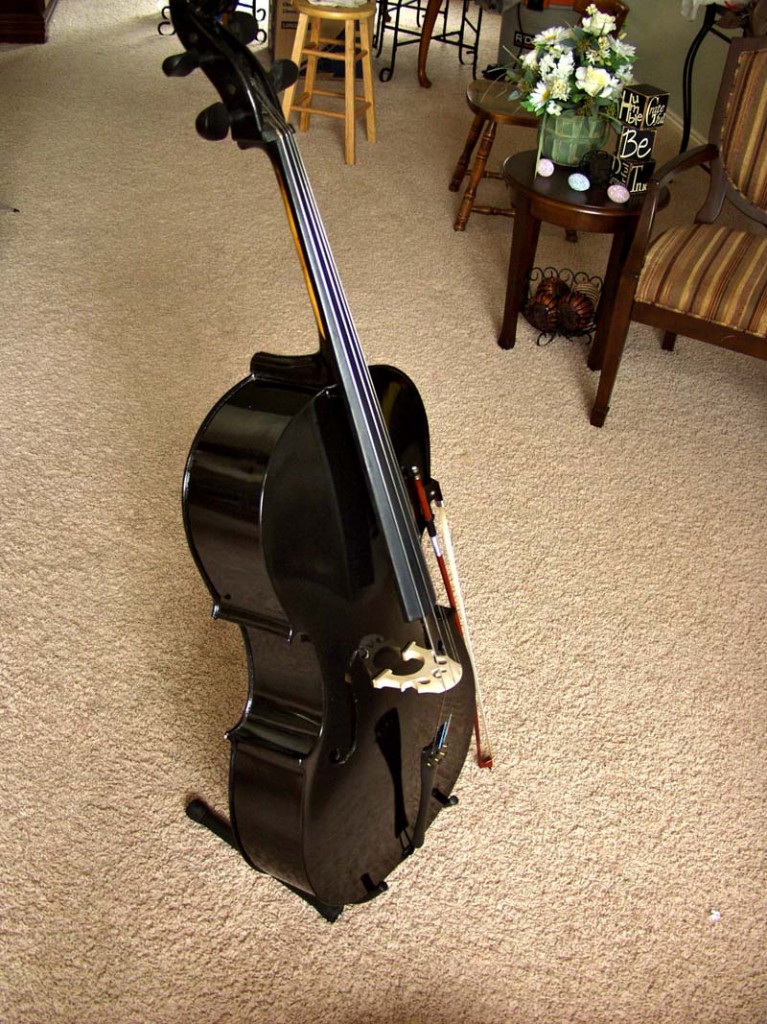
I have always adored the sound of the cello (remember this? Even though it’s more clarinet like, I use it to play a cello). The rich, sonorous tones fill the air with a commanding and moving presence capable of evoking profound emotion. Last Christmas I picked up a cheap one to start learning myself (no sense in investing in a Ferrari if I’m going to slap training wheels on it and putter around the neighborhood). The internet obliged, and in a couple of weeks it arrived on my doorstep (not pictured here is the soft case and abominable pitch pipes that came with it):
Full size (“4/4” in string instrument parlance), slightly sparkly (they called it “metallic” in the listing) glossy sheen, and only some assembly required (bridge setup – and apparently I’m fond of parentheses today).
I brought it up to tune and spent a few weeks conditioning the strings – tuning, playing, cleaning, repeating, etc. – until they came into temper and can hold their pitch. Only, as I was going through my scales and exercises I noticed there were a couple of notes that for whatever reason, I could not get to come out without a horrible sound. It would be either a scratchy rattle, a dry reedy sound, or in one case a harmonic (meaning, at an offset from the base expressed note – not “in harmony” in a melodic sense) squeak. Careful study and experimentation determined that, while I was still definitely amateur, these horrible sounds were not actually my fault.
The fingerboard (area beneath the strings used for altering pitch) is supposed to fall away from the fingered position of the string rapidly, having a uniform (though subtle) concave curvature along its entire length. Only, for this one, that’s only true for about the last 2/3 of it. The first 1/3 is inconsistent and almost convex in a couple places – I tried taking a few shots looking down the board from the perspective of the nut (where the strings enter the peg box) but they just didn’t turn out; apparently a longer depth of field and stereoscopy are required to appreciate the dimensionality.
Anyway, this meant that the string was staying in contact with the fingerboard for a couple inches in some cases, and it was that flush positioning that was causing the rattle and most of the pitch effects. To compound that, the C string (lowest of the bunch) was almost 2x the height from the board that it should have been. Taking measurements across the length I determined 2 major corrections were in order:
 First, file down the nut under the C string to bring it closer to the fingerboard (making it possible to play a C#). I did this with a jeweler’s saw (since I didn’t have any rounded files), and as evident from the picture didn’t bother to re-stain the wood after my handy work – I wasn’t sure if more changes would be necessary. This changed it from almost 4mm down to about 2mm, making the fingering a little easier and the sound much better.
The second problem was the string height relative to the fingerboard for almost the entire length. In fact, at the end of the fingerboard where the strings are supposed to be considerably higher (usually about 2x their starting height as measured at the nut, as I understand it), they were all basically level and in the case of the A string, which had given me the most trouble, was actually closer. I wasn’t about to replace the fingerboard (and/or neck), and I have neither the tools nor the expertise to sand it to shape and re-finish it, so I had to change the relative height a different way.
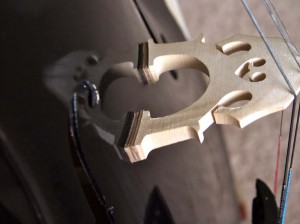
 The answer this time was to raise the bridge itself – which meant carefully dropping the tension on all the strings again, ensuring the sound post stayed positioned, and finding a good way to increase the height of the bridge while still keeping good contact with the face matching curvature and transmitting sound effectively).
I used some chipboard salvaged from the backing of a pad a parchment Rachelle was using for some projects. It was 2mm thick, had a consistency similar to wood, and was able to conform to the surface and footing. I took my measurements and cut several thicknesses which I layered under each foot of the bridge, raising the C side 6mm and the A side 4mm (although I’m still thinking about upping that to a full 6mm, but it hasn’t needed it yet).
Brought the strings back up to pitch and restored the temper (much faster this time), and the timbre has been much approved across the entire range. Fingered C string notes still don’t have as much resonance as those played on other strings, but at least they sound clearly. Dramatic improvements could also be made by putting decent strings on it instead of those it shipped with, but I’m not about to drop $240-$300 in strings onto a $190 cello.
It’s still a student grade instrument, but decently playable now and I’ve been having lots of fun with it the last few months. I’m getting more comfortable moving beyond first position, and will be picking up some instruction books with progressive exercises to hone those basics into something presentable (one may notice the lack of audio evidence presented along with this post). For now I can play along with Rachelle and Ashley on their violins, and make OK work of a hymnal, and most importantly enjoy myself.
Latest Comments:
Comments are closed for this post.


Thin strips of veneer (Ideally) or for lack thereof…in the old world – cork or leather shims – would be used, providing a – Damped…less edgy…EEK…sound!!! (it did’nt work in the long run). Veneer is the best as it is WOOD. Or you could make/get a new bridge, that is the correct height, and fit it yourself…it is not too hard to do.